In cybersecurity, we get excited about new technologies like AI, zero trust, and quantum encryption. But ask any practitioner what quietly stops the most breaches day to day? It’s still MFA.
Multi-Factor Authentication may not be exciting. It can slow people down and sometimes feels awkward. Even so, it remains one of the best ways to stop credential theft, which is the most common way attackers get into any network.
Why MFA Matters
• Passwords are weak. People reuse them across accounts, attackers buy them on the dark web, and “123456” still shows up in breach data.
• Phishing is effective. Users still click links and enter credentials. MFA blocks stolen passwords from being enough.
• Attacks are automated. Bots hammer login pages at scale. MFA breaks that automation by forcing a second factor.
Despite everything we know, MFA is still the easiest and most effective step in cyber defense. It often makes the difference between stopping an incident and having to respond to one.
The Pushback Problem
When we first rolled out MFA our district, the resistance was loud.
“It’s annoying.”
“It slows us down.”
“We don’t have time for that.”
“Why do I need this if I’m just checking email?”
At first, security changes can feel like a big hassle for everyone, whether you’re a teacher, technician, or leader. But a few seconds of extra effort can save us from days or even weeks of problems.
To make sure everyone accepted MFA, we took our time and built support step by step:
• Continuous staff education. Regular updates explained the “why” behind MFA, not just the “how.”
• Knowledge-base articles gave our help desk a clear playbook, no scrambling when someone was locked out or confused.
• Anticipating questions became part of the rollout strategy. From custodians logging into shared workstations to the superintendent approving district-wide communications, everyone got personalized guidance.
We kept the message clear: MFA is not a burden. It’s part of how we protect our entire staff and precious student PII, and PHI data. We aways have to remain FERPA, COPPA, CIPA, and PPRA compliant.
Over time, the complaints faded. Now, using MFA is second nature. It’s simply part of our routine.
The Fix
• Enforce MFA on all critical systems.
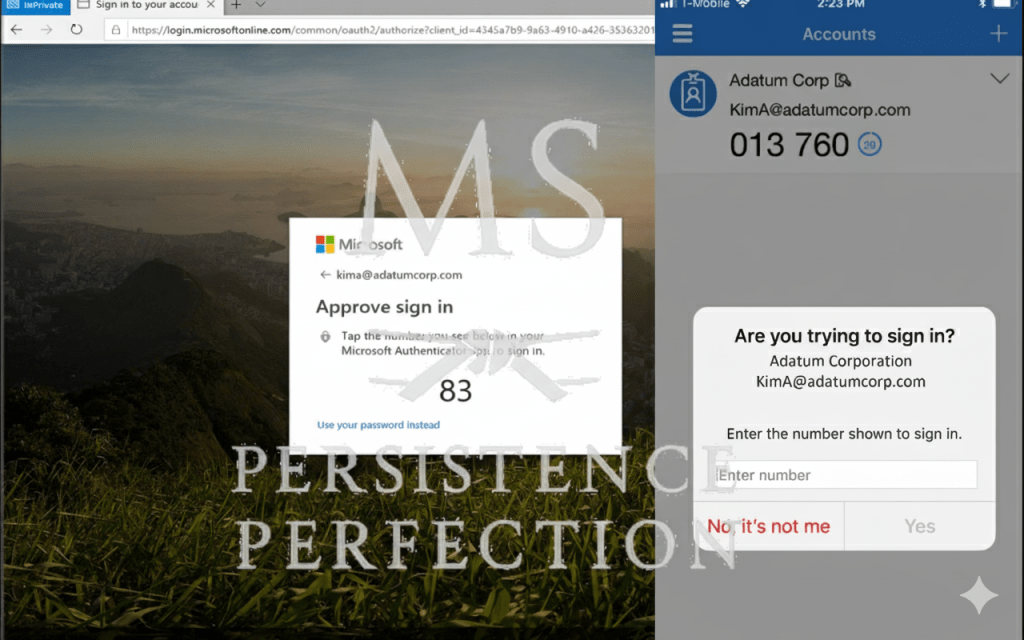
• Use phishing-resistant methods (authenticator apps, hardware keys) and worst-case scenario SMS.
• Train users that a few extra seconds of friction is the cost of resilience.
The Parallel
Using MFA is similar to wrapping your hands before boxing. It might seem tedious when you’re just getting started, but it protects you. If you skip it once, you might be fine, but skip it again, and you risk real trouble.
Security, like weightlifting, CrossFit, martial arts or meal prep it works best when the basics become instinct.
Again, MFA is boring. But, it’s also one of the most powerful shields you have.